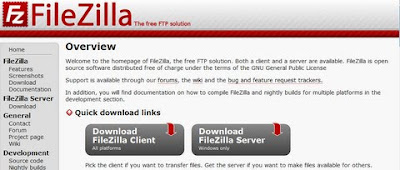
FileZilla is my favorite FTP client. I haven't used this free and open source software for a while since I didn't have a webhosting account as of this moment. For the next few weeks, FileZilla will be on use almost everyday for updating websites and stuff online. I will be presenting to you guys the process of installing FileZilla FTP client on your Windows based operating system machine. Before we start the installation, we need to download the software. We can get it at their website. Select the FileZilla client for the download.
Note: Please make you have administrative privileges on your computer so you will be able to install the software.
This installation process is based on FileZilla version 3.4.0
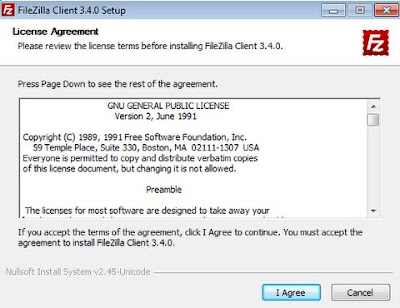
1. Once you open the installer, this will be the first window dialog that will be displayed, the License Agreement. Choose I Agree to continue the installation process.
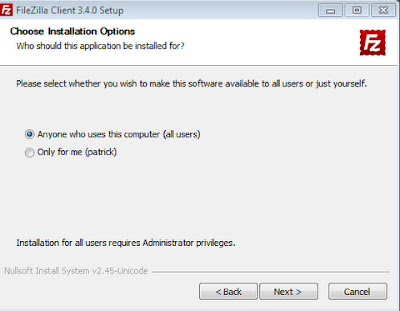
2. Next step is it will ask, if it will be available to all users or just to your account. It depends on you, if the computer you are using have others users besides you.
3. This step, I usually leave it to the default settings.
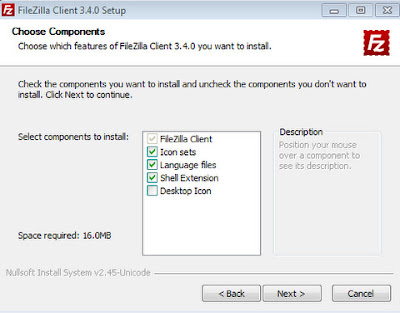
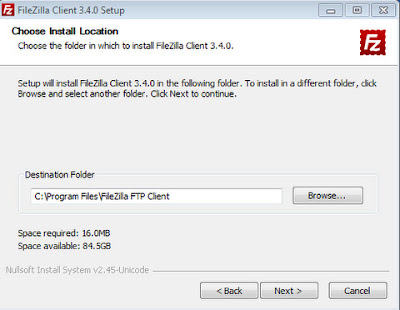
4. Again, this step is up to the user preference. Usually we go ahead and use the default file install location which is Program Files in the system drive (C).
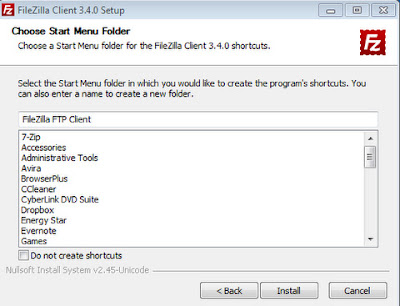
5. Also this is user preference. Most installation leave it to the default option because sometimes we tend to forget what software is installed in the computer.
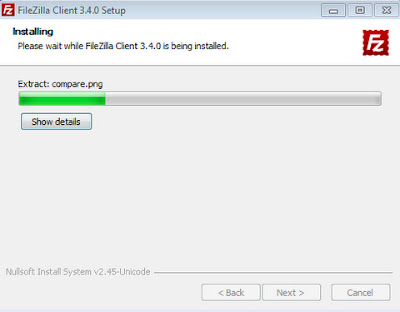
6. On the process now of copying of installation files to the computer.
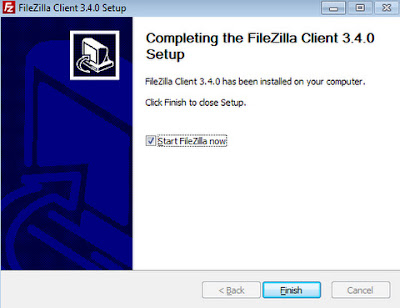
7. Installation is now complete. You can now use the software.
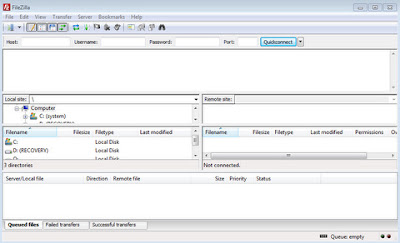
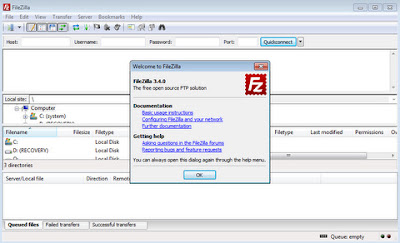
8. This will be the display the first time you open FileZilla.
No comments:
Post a Comment